Overview
I want to control my blog end to end, from the code all the way through hosting. I will share the experience from the baby steps until I finally get to the workflow I will settle with. Until I change it. 🙂
This first entry will not even exist in the blog's final hosted spot, but I will make sure the first one that gets published is well-noted. One of the tags for this entry is "local".
Setup
I followed the source code based instructions here: Installing Pelican. I downloaded the 4.8.0 zip of the source and extracted it in my dev directory and then I made a virtual env with Python 3.10.7. Then I installed from source using
python setup.py install
I also installed the optional packages, markdown and typography.
Anything to do with the Pelican install should be done with the virtual environment activated.
The content
The first bit of content I want to create is this blog post and the Pelican documentation is excellent for understanding how to structure a post and the blog as a whole: Writing content.
See it
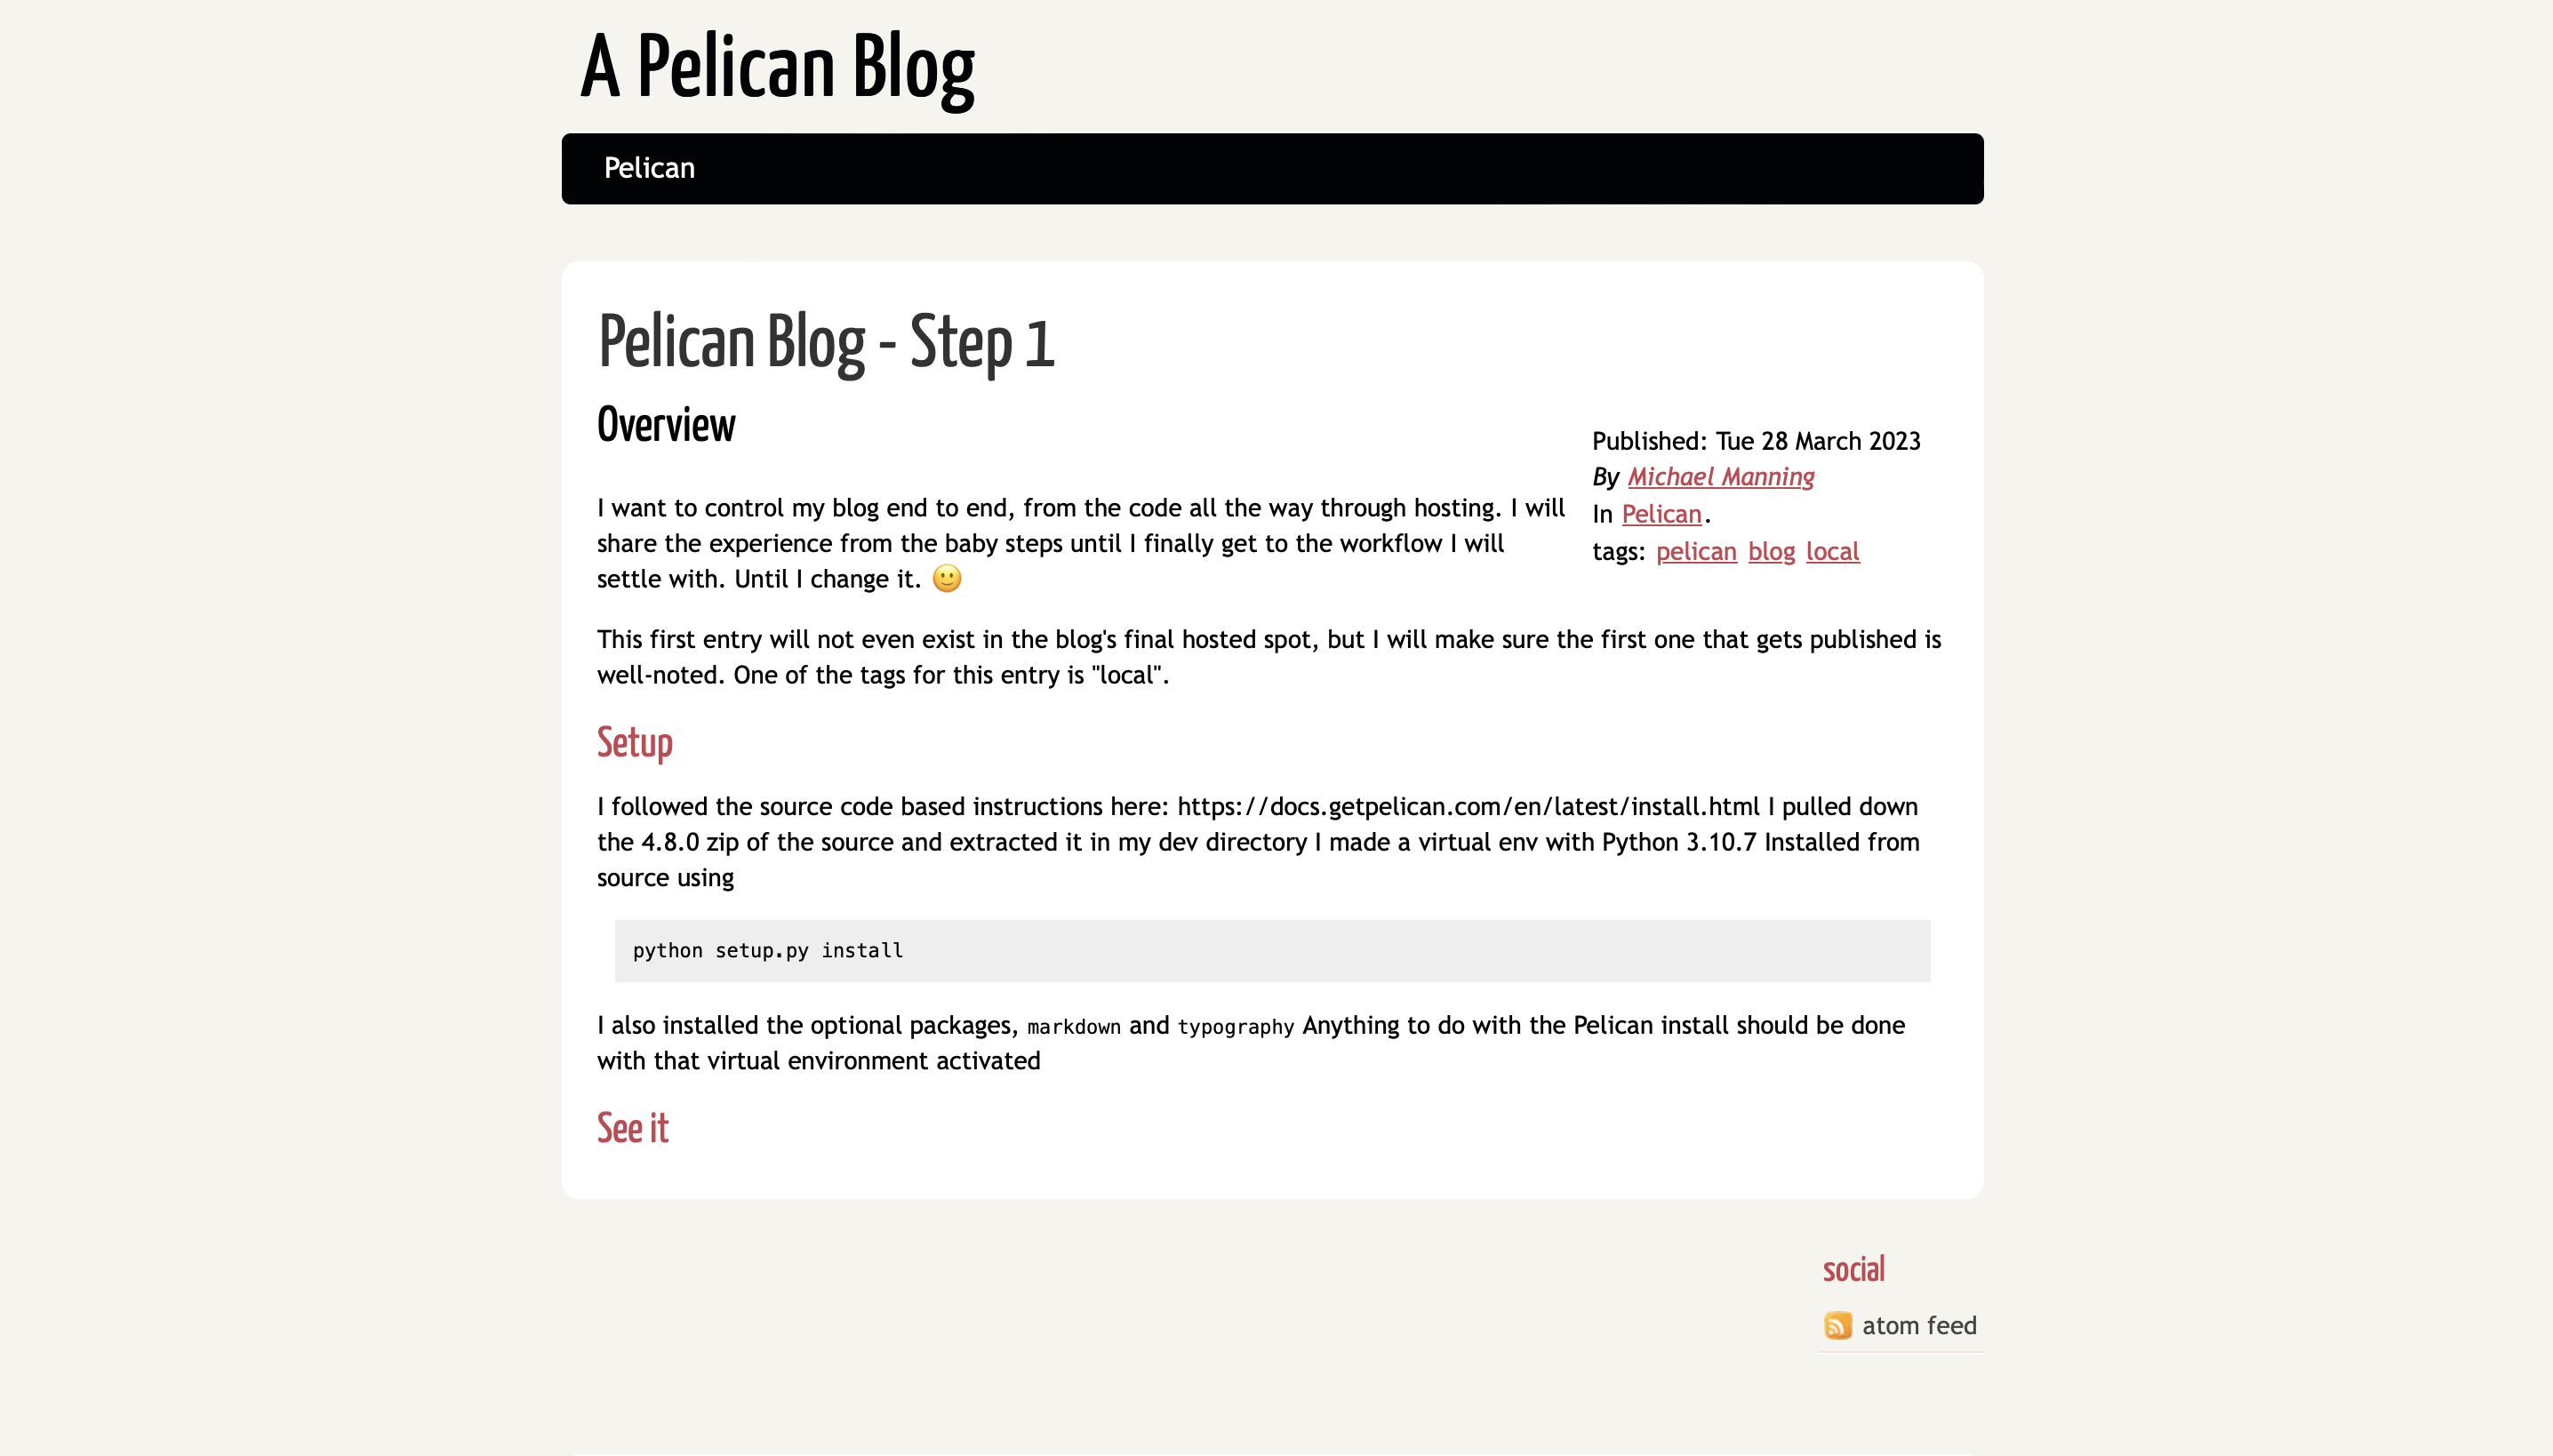
Once there is some content, even a single word, a good way to take a look is to generate the static site by running the pelican command. Once the site is generated, a command like below will serve it up and you can visit it on your browser. -l means to serve content files via HTTP and port 8000.
pelican -l
To write content and see it with a simple refresh of the site I like to run the command below. -r means relaunch pelican each time a modification occurs on the content files.
pelican -r -l
The result!

Conclusion
This feels rather comfortable to create and share knowledge in a way that works for me and I can independently host. It is also only a first step. I still need to add all of this to source control and host it so you can see only what I can see right now.